Precisionvast insert molding process for metal and plastic inserts delivering tight tolerances high volume production and custom engineering support.
Are you wondering how to combine metal strength with plastic flexibility without relying on slow, costly secondary assemblies? If you are dealing with loose parts, weak joints, or skyrocketing labor costs, the insert molding process is the definitive manufacturing solution.
At PrecisionVast, we use this advanced technique to streamline production, cut down your bill of materials (BOM), and deliver incredibly rugged, single-piece components.
The Core Mechanism of the Insert Molding Process
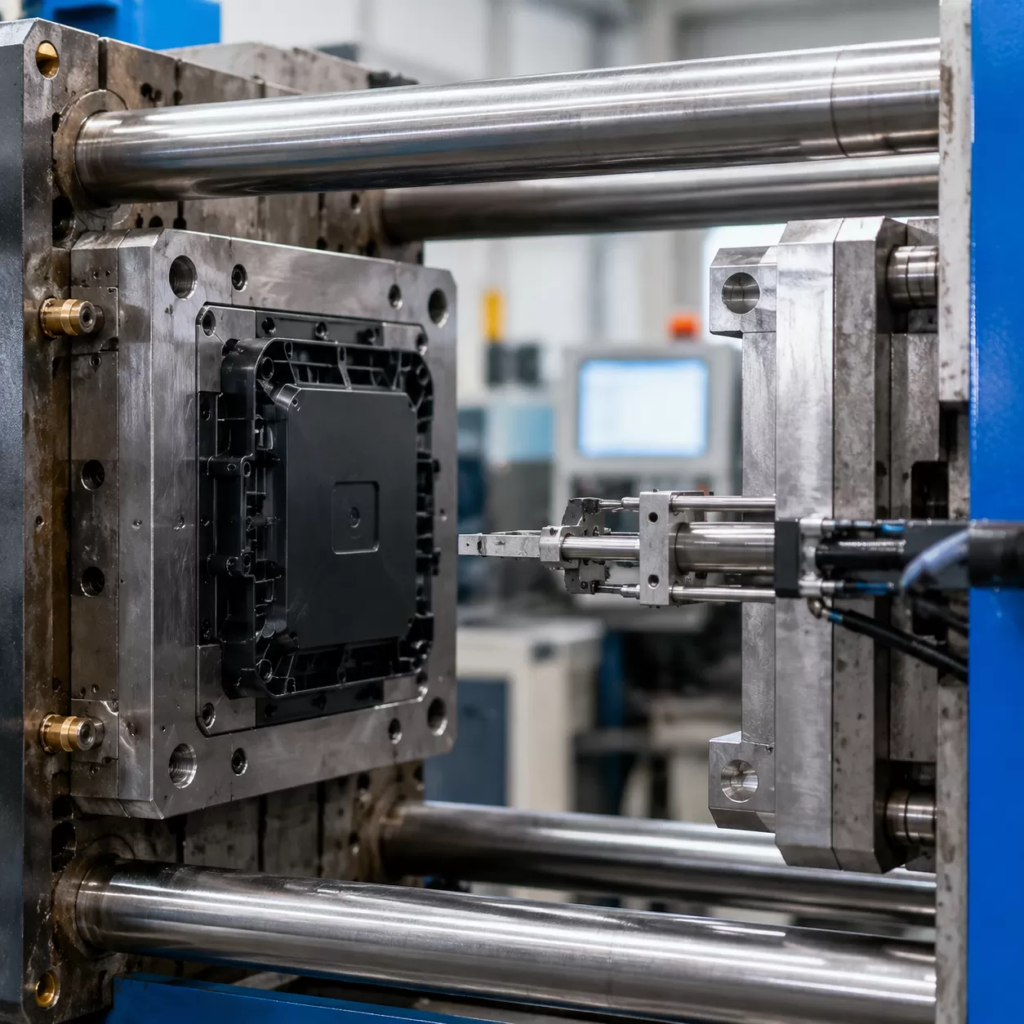
The insert molding process is a single-shot substrate encapsulation process. Instead of molding a plastic part and forcing a metal piece into it later, we place a pre-formed substrate directly into the mold cavity first.
Once the mold clamps shut, hot engineering thermoplastic is injected around the substrate during a single primary injection cycle. The polymer flows around the insert, encapsulates it perfectly, and solidifies to create a unified, robust part right out of the machine.
The Mechanical Advantage
When you utilize injection molding with metal inserts, you are not relying on chemical glue to hold things together. The secret lies in the physics of polymer cooling.
- Volumetric Shrinkage: As the molten plastic cools inside the mold, it naturally shrinks.
- The Interlocking Effect: We leverage this shrinkage by using inserts with specific surface geometries like threaded insert molding, diamond knurls, undercuts, and helical grooves.
- Inseparable Bond: The plastic shrinks tightly around these geometric features, forming an airtight, high-torque mechanical lock that makes it virtually impossible to pull or twist the insert out.
Overmolding vs Insert Molding
Procurement teams often confuse these two techniques. While both create multi-material parts, their tooling, production steps, and costs are completely different.
| Feature | Insert Molding Process | Overmolding Process |
|---|---|---|
| Primary Definition | Encapsulating a pre-formed piece (metal/plastic) in a single injection shot. | Layering plastic or rubber directly on top of a previously molded plastic base. |
| Number of Shots | Single-shot multi-material molding. | Multi-shot (two or more sequential injection cycles). |
| Typical Substrates | Brass inserts, stainless steel pins, mesh filters, wire harnesses. | Rigid plastic frames, handles, internal electronic housings. |
| Tooling Complexity | Standard injection mold with custom-machined nests for the inserts. | Complex, expensive multi-cavity rotating molds or transfer tooling. |
| Best Used For | Adding threaded holes, electrical contacts, and high-strength mountings. | Adding soft rubber grips, seals, and multi-colored aesthetics. |
Comprehensive Material Compatibility & Technical Specifications
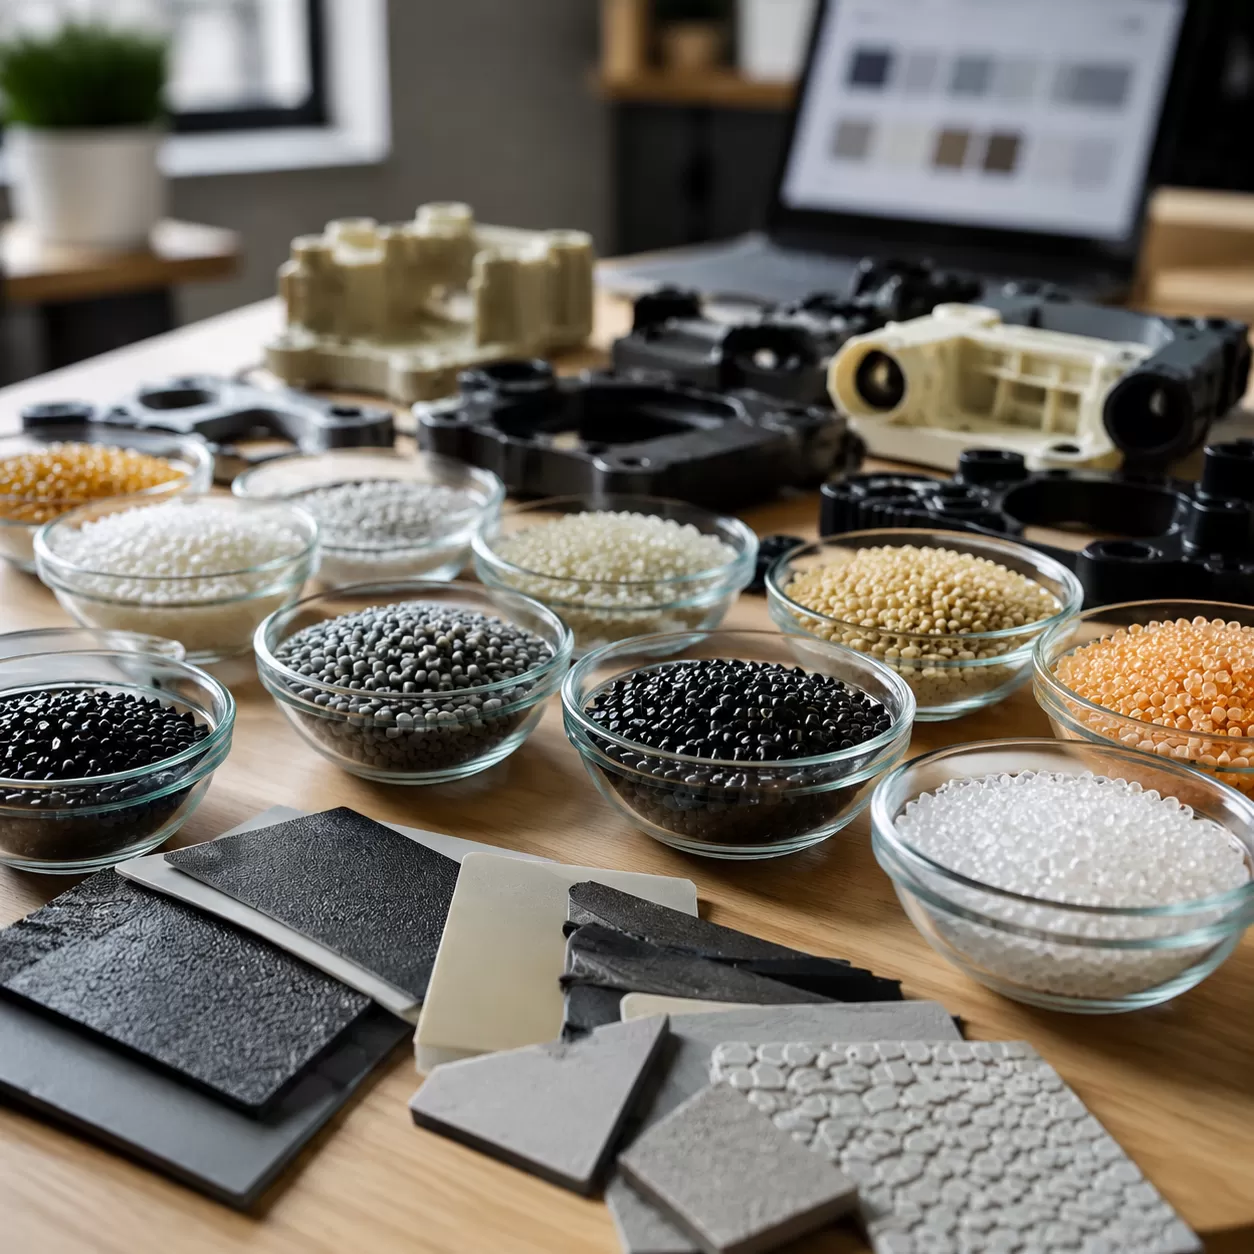
When executing a high-precision insert molding process, matching the right substrate with the ideal encapsulating resin determines the final component’s structural integrity. We handle a diverse range of materials to meet exact mechanical and thermal requirements, ensuring a flawless bond between different mediums.
Substrate and Insert Materials
We integrate both metallic and non-metallic substrates into the molded matrix. Selecting the right metal or alternative insert depends entirely on your application’s electrical, thermal, or mechanical demands.
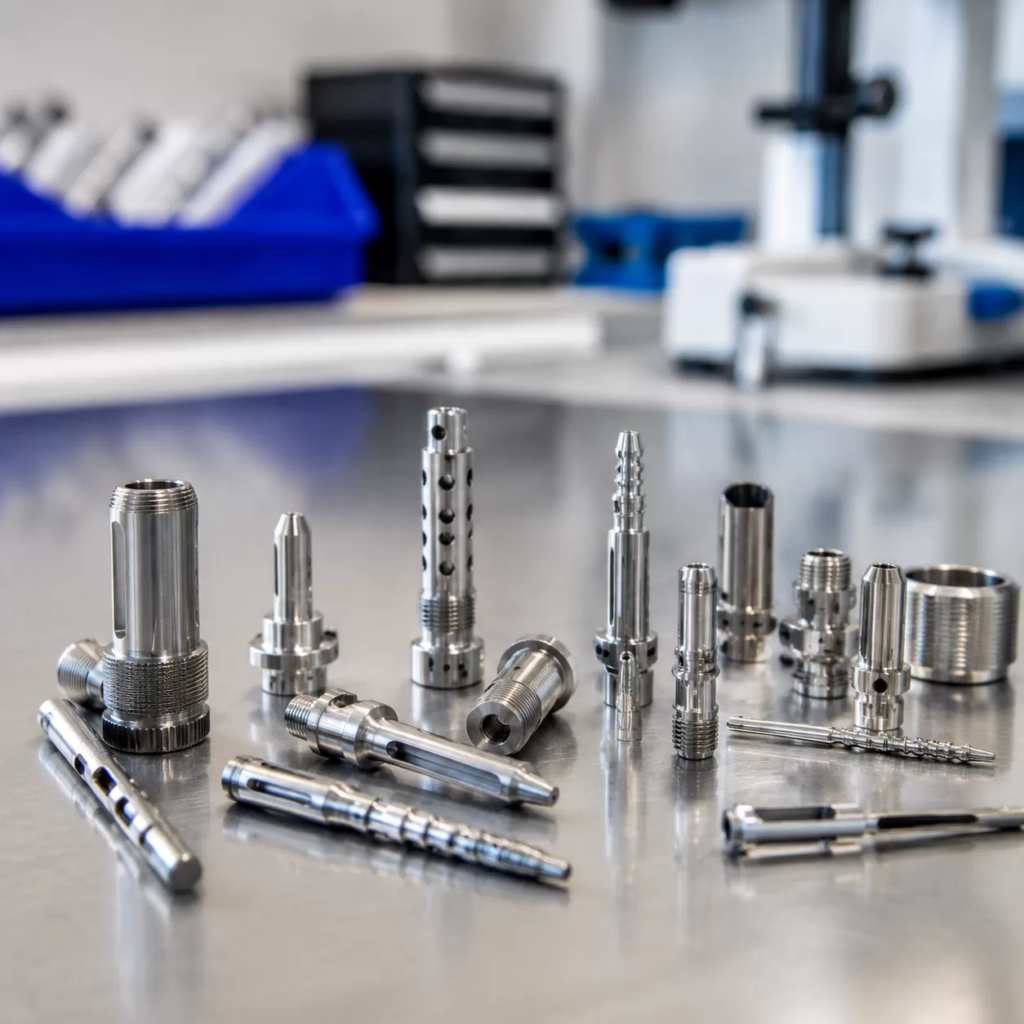
- Metals: Brass insert injection molding remains an industry standard for threaded fasteners due to excellent machinability and conductivity. We also work extensively with aluminum for lightweight strength, copper for electrical pathways, and various grades of steel. For harsher environments, utilizing the right stainless steel heat treatment processes on your inserts beforehand ensures maximum corrosion resistance and durability.
- Alternative Inserts: Beyond metals, our process seamlessly integrates pre-molded plastics, mesh filters, and complete wiring harnesses into a single-shot component.
Encapsulating Resin Matrix Options
The choice of thermoplastic resin dictates how the material shrinks, flows, and locks around the insert during the plastic insert injection molding cycle.
- Engineering Thermoplastics: We utilize ABS, Polycarbonate (PC), PBT, and Nylon (Polyamide) for standard industrial and consumer applications requiring high impact resistance and dimensional stability.
- High-Performance Polymers: For extreme environments, we process advanced materials like PEEK, PPS, and PEI (Ultem), which maintain structural integrity under intense thermal and chemical stress.
Core Engineering Specifications
Precision requires strict adherence to design boundaries. Below are our standard operational constraints for custom insert molded components.
| Specification Parameter | Standard Range / Capability | Engineering Consideration |
|---|---|---|
| Achievable Tolerance | ±0.05 mm to ±0.1 mm | Tight tolerances prevent resin leakage and flashing on the insert surface. |
| Minimum Wall Thickness | 0.8 mm to 1.5 mm | Ensures complete resin flow and prevents voids or sink marks around the insert. |
| Maximum Component Dimensions | Up to 450 mm | Dependent on press tonnage and mold layout configurations. |
| Insert Positioning Accuracy | Within ±0.02 mm | Critical for automated robotic placement and avoiding core-pin damage. |
Step-by-Step Production Workflow at PrecisionVast
At PrecisionVast, we treat the insert molding process as a science of absolute predictability. Merging separate substrates with molten polymers requires a flawless sequence of engineering controls. We utilize a refined, five-phase workflow to ensure every single component meets exact performance metrics without shifting, warping, or structural failure.
Phase 1: Precision Pre-Treatment & Sourcing
A successful substrate encapsulation process begins long before the mold closes. We source premium-grade inserts and put them through rigorous surface prep.
- Degreasing & Cleaning: Removing all manufacturing oils, cutting fluids, and contaminants that could compromise the plastic-to-metal interface.
- Mechanical & Chemical Priming: Applying micro-texturing or specialized chemical primers to the inserts to maximize surface adhesion and guarantee optimal interface bonding.
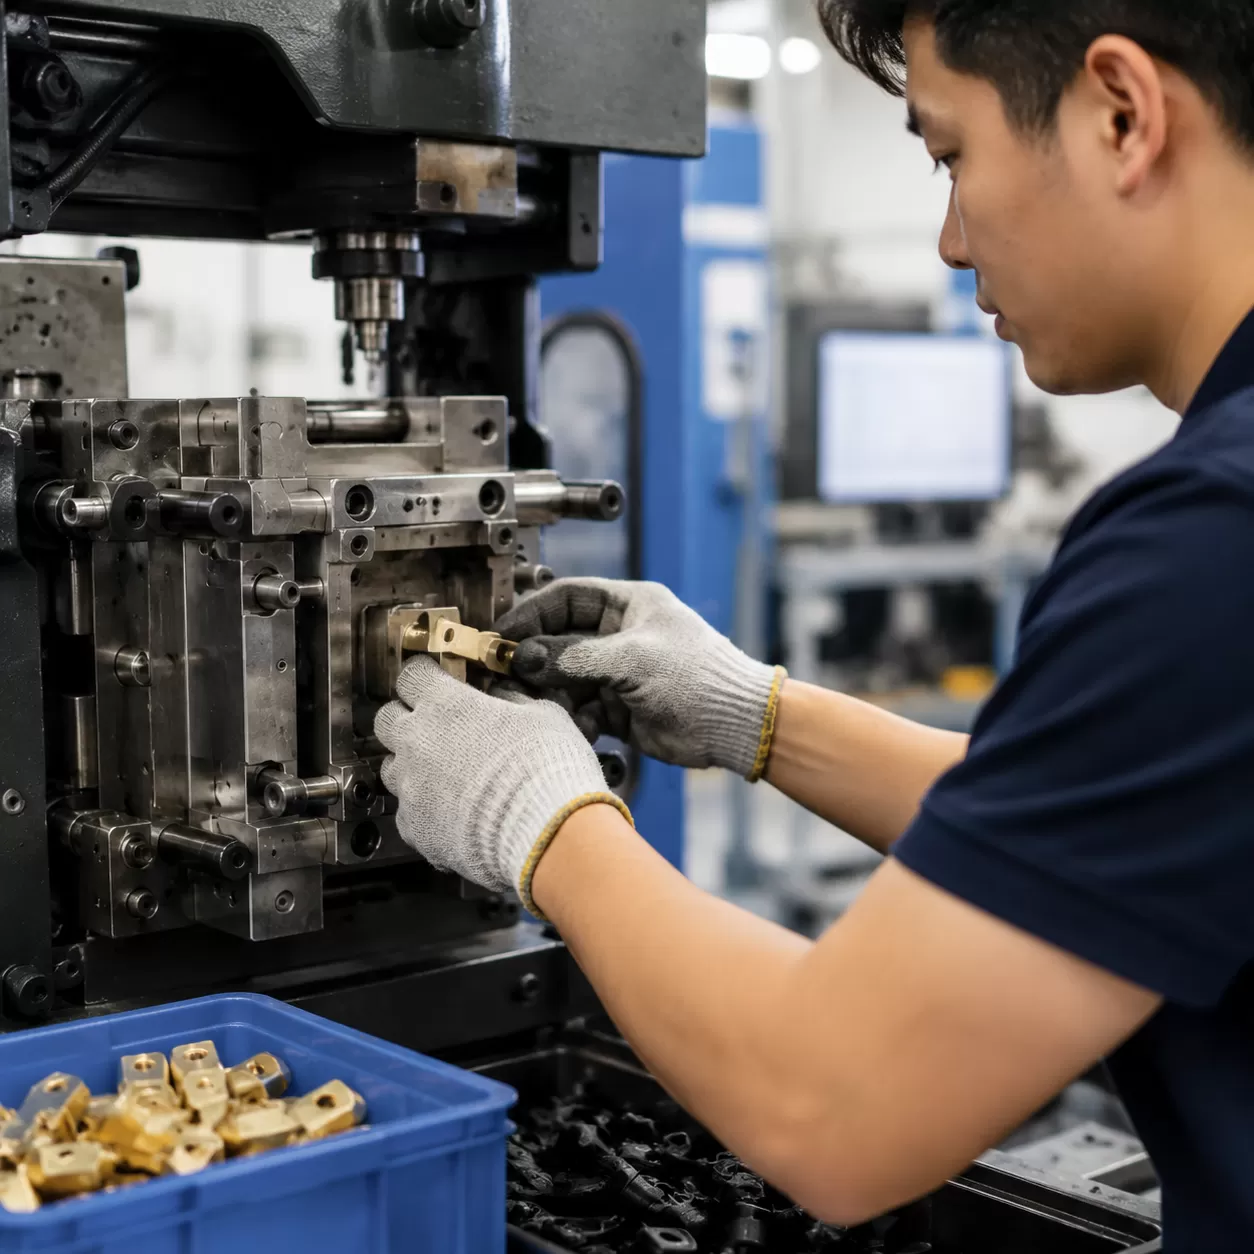
Phase 2: Substrate Loading & Orientation
Placing the substrate into the mold cavity requires extreme accuracy to prevent downstream defects. We adapt our loading strategy based on your project scale:
- Manual Pick-and-Place: Highly skilled operators manually position components for low-volume runs and rapid prototyping, keeping initial tooling costs low.
- Automated Robotic Insertion: For high-volume insert molding, we deploy customized robotic arms equipped with precision end-of-arm tooling (EOAT). This ensures lightning-fast cycle times and highly repeatable placement down to the micron.
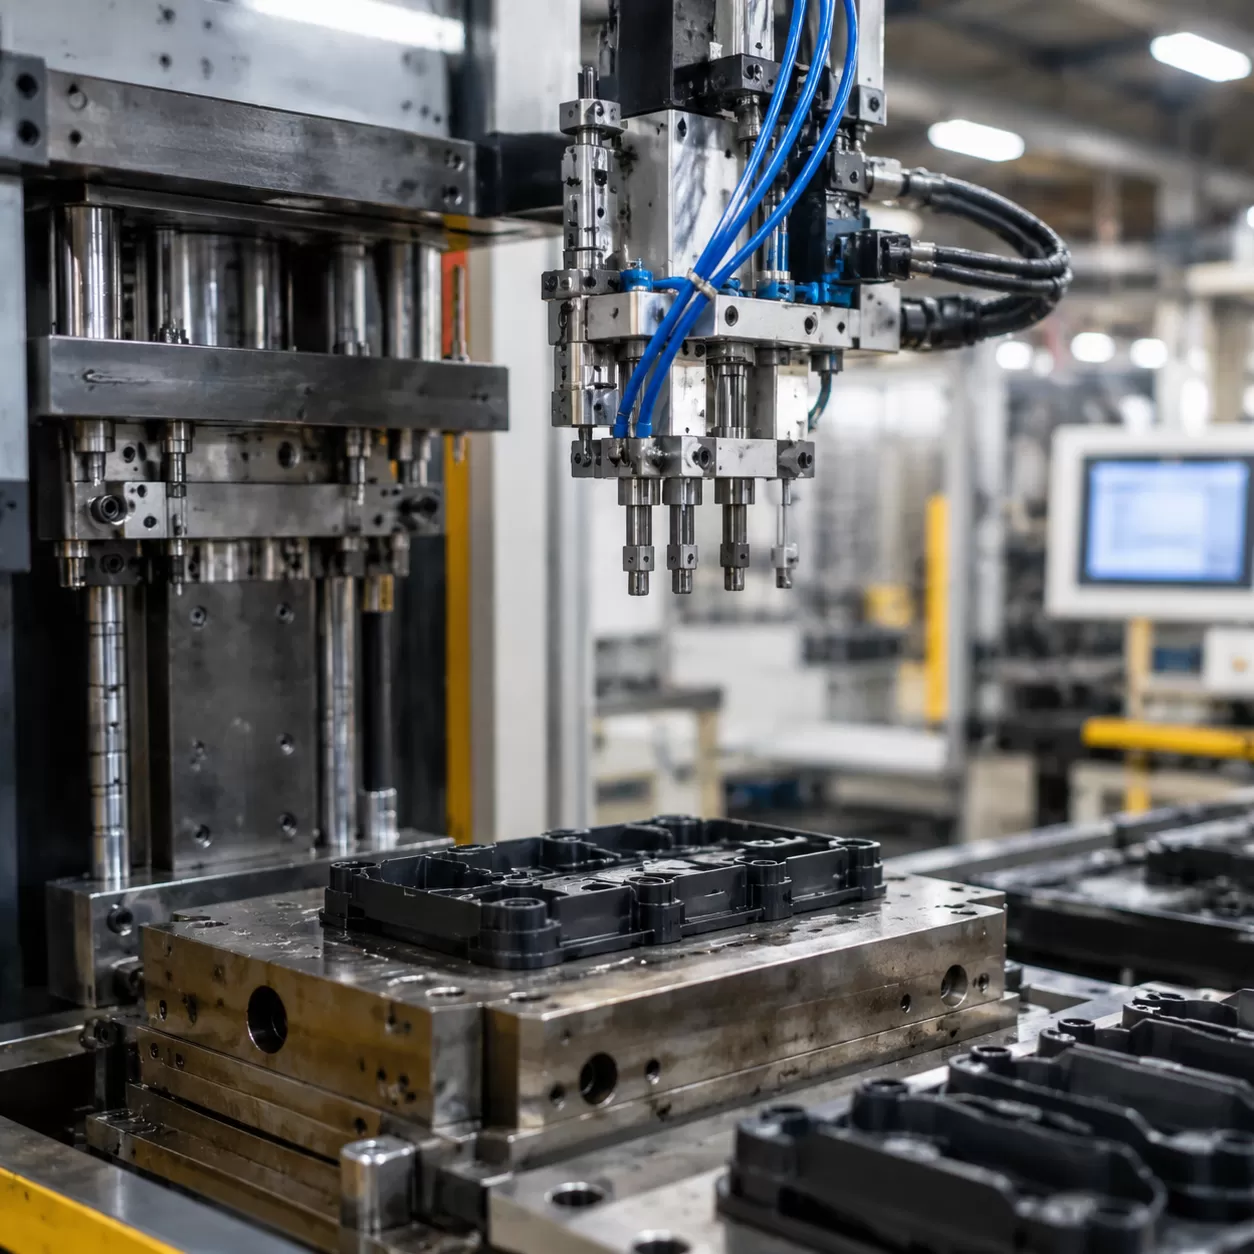
Phase 3: High-Pressure Plastic Injection
Once the inserts are locked in place, the injection phase begins. This step requires precise melt flow dynamics to safeguard the integrity of the setup.
- Deflection Control: We carefully manage injection speeds and packing pressures to prevent the incoming molten plastic from shifting or bending the inserts.
- Tooling Protection: Balanced gate placement prevents uneven forces from causing critical core-pin damage or washing out small threaded insert molding components.
[ Molten Polymer Injection ] ──> [ Controlled Melt Flow ] ──> [ Balanced Clamping Pressure ] ──> No Insert Shifting
Phase 4: Matrix Cooling & Shrinkage Lock
The real magic of injection molding with metal inserts happens during the cooling phase.
- Optimized Cycle Times: We program precise cooling profiles to allow the engineering thermoplastic to shrink uniformly around the knurls, undercuts, and grooves of the insert.
- Stress-Free Mechanical Interlocking: Controlling the thermal transition prevents internal molded-in stress, creating an inseparable, airtight mechanical lock between the polymer matrix and the substrate.
Phase 5: Automated Ejection & Gating Post-Processing
The final phase focuses on delivering a clean, ready-to-use component.
- Automated Demolding: Ejector pins smoothly push the completed insert molded components out of the cavity without distorting the freshly formed plastic shell.
- Flash Removal & Deburring: Automated shearing or CNC trimming removes gating remnants and any microscopic flash along the shut-off lines.
- Inline Structural Relaxation: Parts undergo controlled cooling post-ejection to ensure dimensional stability and eliminate any residual thermal tension.
Our controlled workflow ensures that from the first prototype to a million-part production run, your components arrive exactly to print, every single time.
Critical Engineering & Design Guidelines for OEMs
Designing parts for the insert molding process requires careful planning to ensure structural integrity and flawless cosmetic finishes. When you embed a rigid substrate into a molten polymer matrix, the material behaviors change drastically compared to standard injection molding. Following these core engineering principles will prevent common field failures and production defects.
Preventing Pull-Out & Torque-Out
Mechanical inserts, especially threaded brass or stainless steel components, must withstand significant axial pulling forces and rotational torque during final product assembly. Relying on a smooth metal surface will cause the part to fail under stress.
To create an inseparable mechanical lock, we integrate specific geometric features directly into the insert design:
- Diamond Knurling: Provides superior resistance to torque-out by allowing the plastic to flow into crisscross grooves.
- Straight or Helical Grooves: Excellent for resisting tensile pull-out forces.
- Undercuts and Grooves: Act as physical blockades that lock the insert permanently along the axial plane.
- Structural Bosses: Adding molded plastic shoulders around the insert distributes external forces evenly across the surrounding resin matrix.
Boss and Wall Thickness Optimization
Improper wall thickness around an embedded component is the leading cause of internal molded stresses, sink marks, and cosmetic voids. As the molten plastic cools, it naturally shrinks. Because metal inserts do not shrink, uneven plastic walls will pull away or crack.
Engineering Rule of Thumb: The plastic wall thickness surrounding a metal insert should generally equal or exceed the radius of the insert itself to properly absorb hoop stresses during cooling.
Maintaining uniform wall thickness prevents knit lines (weak areas where two melt fronts meet) and keeps the structural integrity of your custom insert molding services intact.
Draft Angles and Tooling Shut-offs
Managing mold closure forces is critical to preventing flash—excess plastic leaking onto functional areas of the insert, like internal threads or electrical mating surfaces.
| Design Factor | Target Specification | Purpose |
|---|---|---|
| Tooling Shut-offs | Precision metal-to-metal seals | Seals off the insert to prevent resin flash on functional surfaces. |
| Draft Angles | 0.5° to 2° minimum | Allows for clean, automated part ejection without galling the tool. |
| Insert Tolerances | Tight holding dimensions (+/- 0.05mm) | Ensures the substrate fits perfectly inside the mold cavity during high-pressure injection. |
By incorporating proper draft angles and precise shut-off lands into your initial CAD designs, we can minimize secondary deburring operations and drastically lower your total cost of ownership.
Industrial Applications of the Insert Molding Process
The custom insert molding process is a cornerstone of modern manufacturing, allowing us to combine the strength of metals or specialized substrates with the versatility of high-performance polymers. Across the United States, OEMs rely on this technique to streamline production and improve part reliability.
Automotive & Aerospace Innovation
In high-stress environments, components must withstand extreme vibrations and temperature swings. We utilize plastic insert injection molding to deliver lightweight, durable solutions that replace heavy, all-metal assemblies.
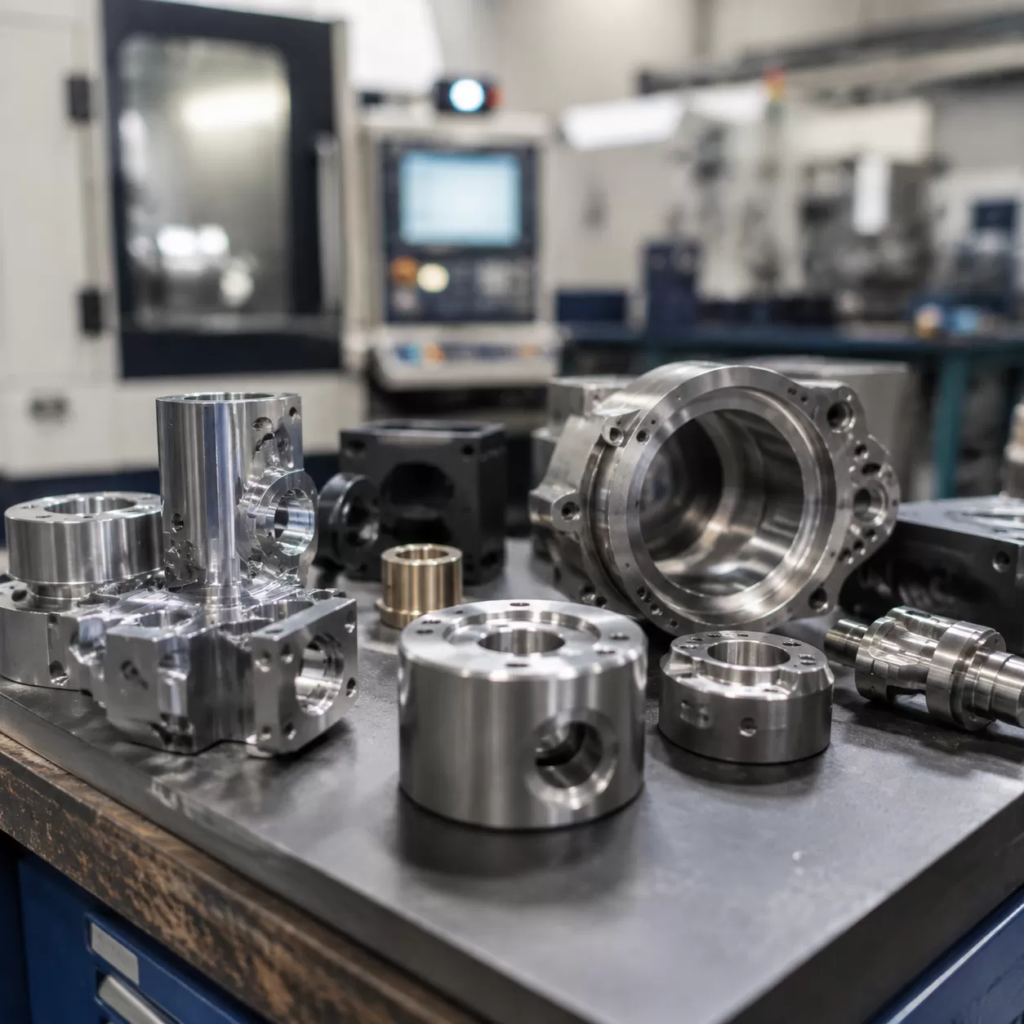
- Under-Hood Components: Structural brackets and fluid delivery systems that resist heat and chemical exposure.
- Sensory Housings & Ignition Systems: Encapsulating delicate electronics to protect them from moisture and road debris.
- Aerospace Structures: Integrating advanced composites with high-performance polymers to reduce aircraft weight. For severe thermal environments, understanding the challenges in the properties of high-temperature alloys helps us select the ideal metal inserts for matching thermal expansion rates.
Electronics & Telecommunications
As devices shrink, the demand for precision insert molded components grows. Our substrate encapsulation process ensures watertight seals and perfect electrical isolation for sensitive hardware.
- Connectors & Plugs: Overmolded pins and terminal blocks that prevent dust and moisture ingress.
- Shielded Integrated Housings: Creating built-in EMI/RFI shielding by embedding metal grids directly into the plastic matrix.
- Custom Busbars: Securely anchoring heavy copper conductors within localized power distribution units.
Medical Devices & Equipment
Medical-grade insert molding requires strict adherence to tight tolerances and bio-compatible material standards.
- Surgical Handles: Ergonomic, autoclave-resistant handles molded directly over stainless steel blades or shafts.
- Catheter Manifolds: Multi-lumen configurations that require precise, single-shot multi-material molding to eliminate leak paths.
- Needle Assemblies: High-volume insert molding for single-use medical devices, ensuring the needle is perfectly centered and locked in place.
Why Partner with Precisionvast for Custom Insert Molding?
When you choose Precisionvast for your insert molding process, you are not just getting a parts supplier. You are partnering with a team that owns the entire production cycle. We engineer, machine, and mold under one roof to deliver absolute reliability for the US market.
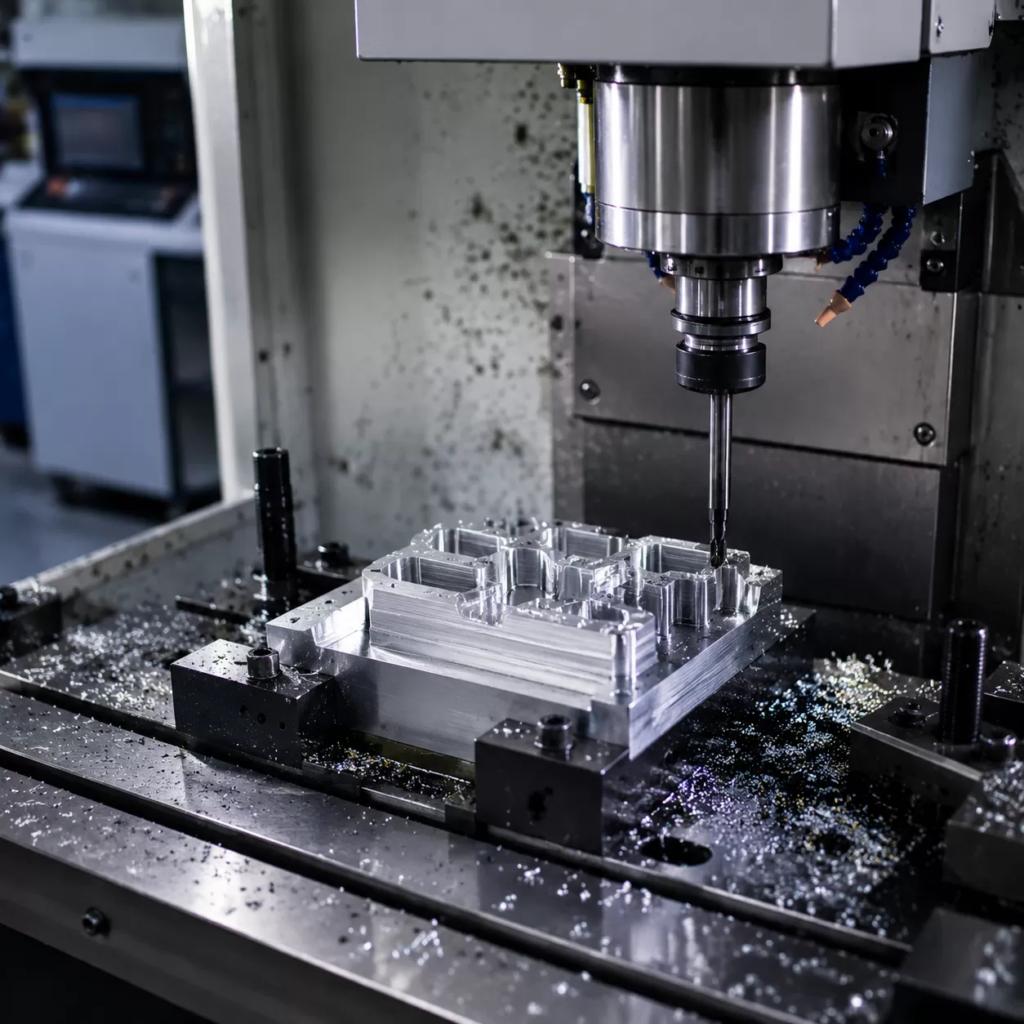
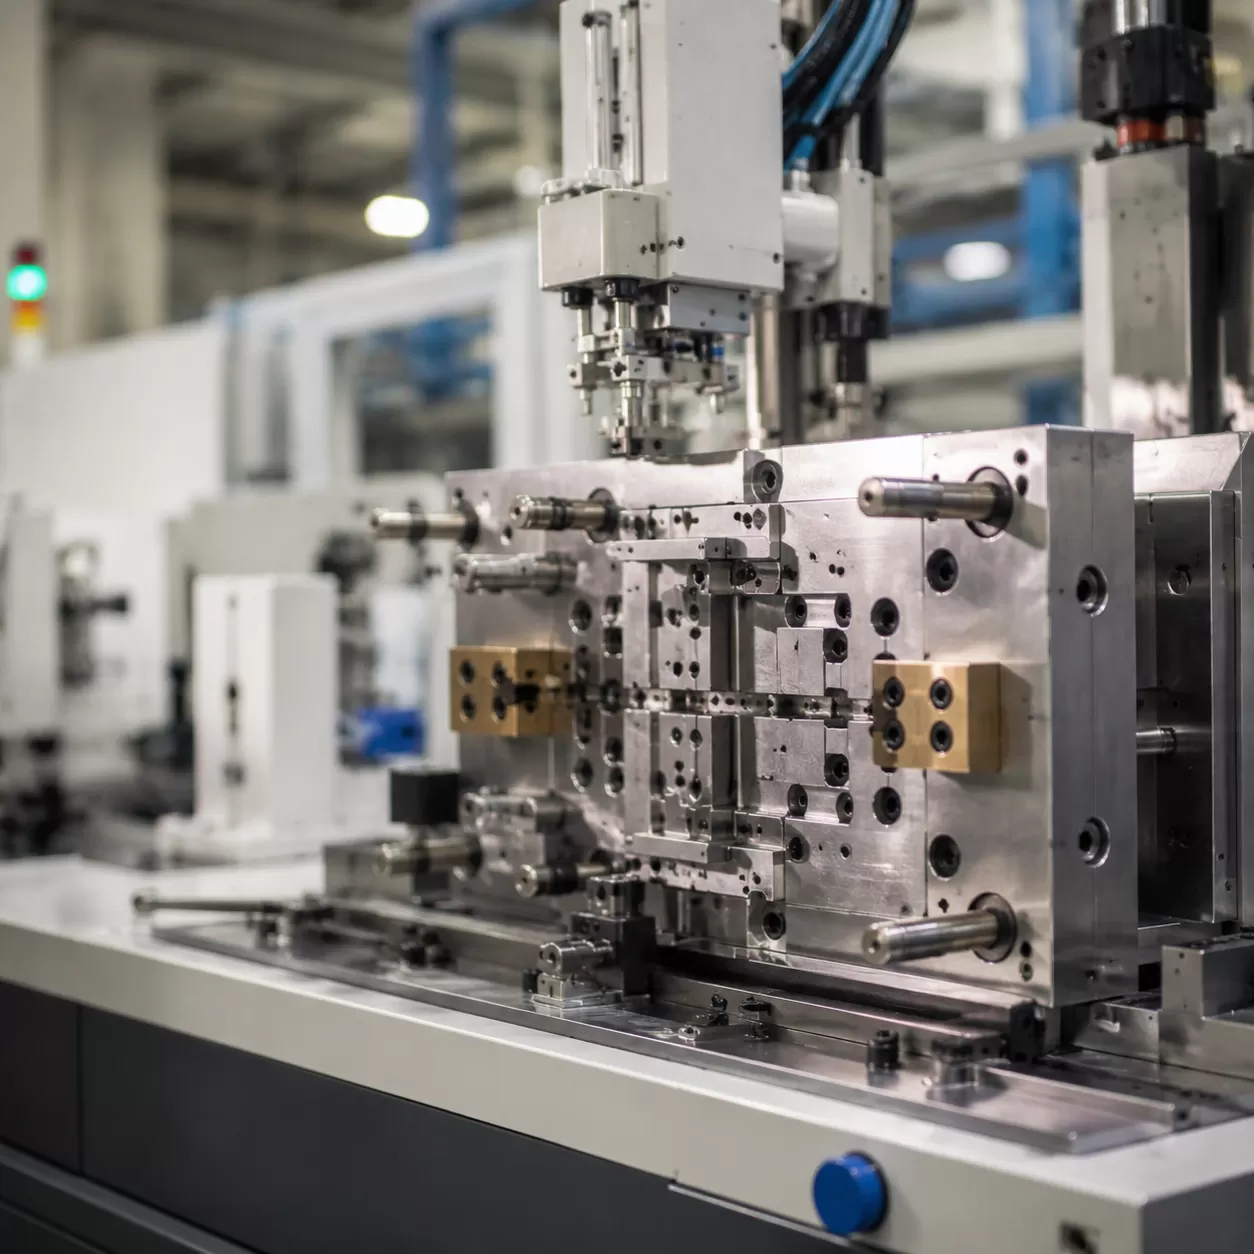
Advanced Tooling & Machining Capabilities
Our in-house CNC tool design group works alongside high-precision horizontal and vertical molding equipment. By matching custom mold builds directly to our machines, we maintain tight control over core pin placement and shut-off tolerances. This setup ensures that your metal or plastic inserts stay perfectly aligned throughout every high-pressure cycle.
Rigorous Quality Assurance Standards
We back our production with strict, data-driven quality controls to guarantee part integrity.
- Automated Vision Testing: Real-time camera inspections check insert orientation and detect flash instantly.
- Pull-Force Verification: Destructive and non-destructive testing ensures the mechanical lock between the polymer and substrate cannot fail.
- International Frameworks: Every production run complies with strict global industrial standards, ensuring consistency from the first part to the millionth.
B2B Turnkey Efficiency
We simplify your supply chain by consolidating multiple bills of materials (BOM) into a single-shot operation. By encapsulating fasteners, bushings, or electronics directly during the insert molding process, we eliminate the need for secondary assembly operations. This turnkey approach slashes labor costs, reduces post-mold defects, and lowers your total cost of ownership (TCO).
Insert Molding Process FAQ
What are the main causes of insert shifting during the molding cycle?
Insert shifting, or displacement, typically happens when the high-pressure plastic injection force overpowers the positioning setup inside the mold. The primary culprits include:
- Improper injection pressure or gating: Unbalanced melt flow dynamics can push the substrate out of alignment.
- Inadequate support pins: Lacking core pins or tight tolerances in the mold cavity allows the insert to deflect.
- Incorrect insert tolerances: If the pre-formed metal or plastic inserts vary in size, they won’t sit securely in the tooling.
We combat this by optimizing our gate placement and utilizing precision-machined mold nests that lock the components firmly in place.
How does precisionvast handle prototyping versus large-scale mass manufacturing?
We scale our custom insert molding services to match your specific production lifecycle needs:
- Prototyping: We utilize modular tooling and manual pick-and-place execution. This keeps upfront tooling costs low and allows for fast design iterations.
- Mass Production: For high-volume insert molding, we transition to fully automated robotic line insertion, multi-cavity hardened steel molds, and inline vision inspection systems to maximize throughput and consistency.
Can insert molding create airtight or water-resistant seals around electronic components?
Yes. The thermoplastic insert encapsulation process is highly effective for creating sealed, ruggedized housings for electronics. As the injected resin cools, it shrinks tightly around the integrated pins, connectors, or busbars to form an inseparable mechanical lock. For demanding IP67 or IP68 water-resistance ratings, we often implement specialized chemical primers or engineered knurling patterns onto the substrate to eliminate any micro-gaps and prevent moisture ingress.
What are the typical lead times for custom insert molding tooling?
Tooling lead times depend heavily on part complexity and production volume requirements:
| Phase / Tooling Type | Average Lead Time | Best Used For |
|---|---|---|
| Prototype Tooling | 2 to 3 weeks | Design verification & low-volume testing |
| Bridge Tooling | 3 to 4 weeks | Initial market launch & pilot runs |
| Production Tooling | 5 to 7 weeks | High-volume, automated manufacturing |
We manage the entire process in-house, from CNC tool design to final validation, to ensure your project stays on schedule.